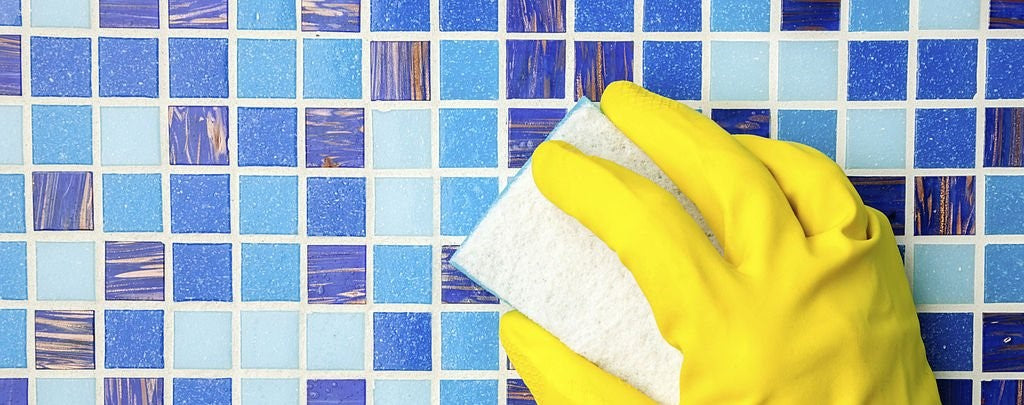
Turn any space into a stunning masterpiece with iMosaicArt's handcrafted mosaics! This comprehensive guide empowers art lovers, homeowners, architects, and interior designers alike to effortlessly install our beautiful creations and bring a touch of artistic luxury to your walls, floors, or any surface you can imagine.
No prior experience needed! We'll walk you through every step, from prep to polish, with clear instructions and helpful visuals to ensure a seamless and satisfying installation. So, grab your iMosaicArt masterpiece and let's get started!
Tools to Be Used in the Installation Process:
While iMosaicArt provides the stunning mosaic artistry, you'll need a few trusty tools to bring it to life. Don't worry, you can find everything you need at your local Home Depot or Amazon!

- Safety gear: Gloves, safety glasses, and a dust mask are essential for protecting yourself during the process.
- Adhesive: Choose a high-quality mosaic adhesive suitable for your chosen surface (walls, floors, etc.).
- Trowel: For spreading the adhesive evenly.
- Notched trowel: Creates ridges in the adhesive for better tile adhesion.
-
Grout: Select a grout color that complements your mosaic and the surrounding space.

- Grout float: Apply and smooth the grout between the tiles.
- Bucket and sponge: For mixing grout and cleaning up.
- Level: Ensures your mosaic is perfectly aligned.
- Utility knife: For making necessary cuts to the tiles.
- Rubber mallet: Gently taps tiles into place.
Step 1: Prepare Your Mosaic Art
Give your chosen surface a thorough cleaning with a damp sponge and soapy water. Remove any dust, dirt, or grime to ensure optimal adhesive bonding.
Pro Tip: For uneven surfaces, apply a leveling compound to create a smooth base.
Step 2: Spread the Adhesive
Using your trowel, spread a thin, even layer of adhesive onto the prepared surface. Follow the manufacturer's instructions for drying time before proceeding.

Step 3: Embrace the Mosaic Magic!
Now comes the fun part! Starting from the center or a corner, gently press your iMosaicArt masterpiece into the adhesive, ensuring proper alignment and spacing. Use your level regularly to maintain a flawless finish.
Step 4: Let the Art Settle
Once all your mosaic is in place, allow the adhesive to cure completely according to the manufacturer's recommendations. This typically takes 24-48 hours.
Step 5: Grout Your Masterpiece
Mix your grout according to the package instructions and apply it using the grout float, diagonally across the mosaic. Wipe away any excess grout with a damp sponge.

Note:
If you're using epoxy grout, there is no need for an enhancer. Otherwise, you can use a color enhancer and sealer to protect your mosaic.

Step 6: Reveal Your Creation!
After the grout dries completely (usually 24-72 hours), buff the surface with a soft cloth to enhance its shine and reveal your stunning iMosaicArt masterpiece!
You've just installed a stunning iMosaicArt masterpiece, transforming your space into a unique work of art. Take a moment to appreciate your handiwork – you've created a beautiful mosaic piece that will be admired for years to come.
But the journey doesn't end here! iMosaicArt's endless possibilities invite you to keep exploring, keep experimenting, and keep dreaming big. Dive into new patterns, embrace bold colors, and let your creativity lead the way. Remember, your walls are your canvas, and every tile a mosaic brushstroke waiting to be laid.
Ready for your next masterpiece? Visit our website and discover new avenues for artistic expression. Let's continue creating together!


