
In summary: To refresh your home for Spring 2026, focus on biophilic...
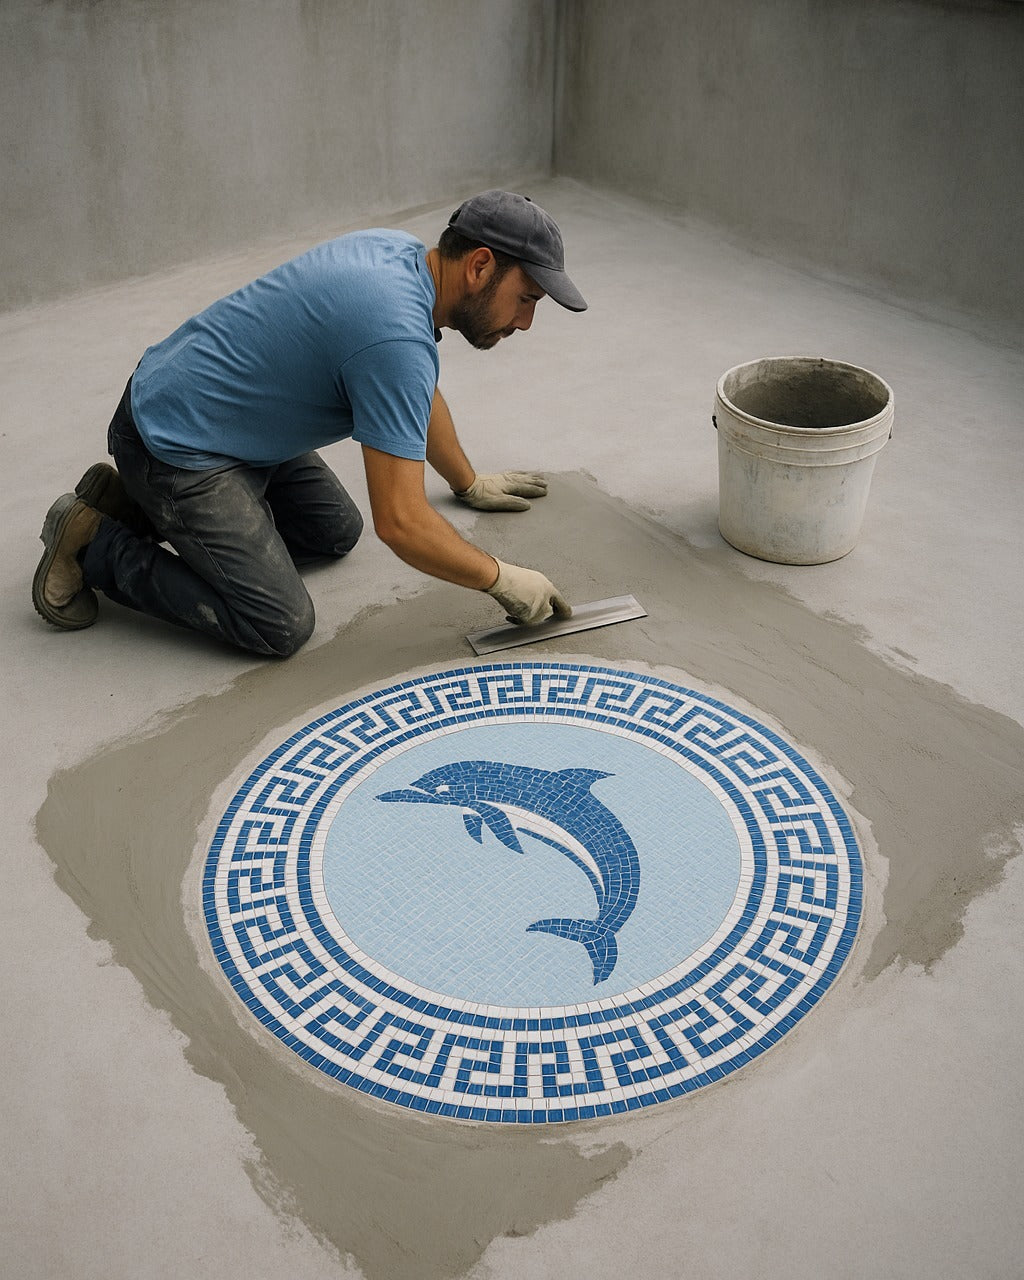
Grouting is the final, essential step in almost every mosaic project. It binds the tesserae together, seals the gaps, and gives the artwork structural integrity. More than that, the color and quality of your grout work can make or break the visual impact of your finished piece.

Here is a step-by-step guide to mastering the grouting process.
Your first decision is the type and color of the grout.
Sanded Grout: Contains small particles of sand. Use this for grout lines that are 1/8 inch or wider. The sand prevents the grout from cracking as it dries.
Unsanded Grout: A smooth cement mixture. Use this for very tight grout lines (less than 1/8 inch). It has a stickier consistency, making it better for vertical surfaces.
Epoxy Grout: Highly stain-resistant and waterproof. Best for backsplashes, shower areas, and floors, but it is more difficult to work with and more expensive.

The grout color will either highlight or unify your tesserae.
Dark Grout (Black, Charcoal, Dark Gray): Creates a stark contrast, making each tessera stand out individually. Excellent for projects with bright, varied colors or a more graphic look.
Light Grout (White, Cream, Pale Gray): Unifies the piece, allowing the overall image or flow ($andamento$) to dominate. It gives the mosaic a softer, cleaner aesthetic.
Tonal Grout: Choosing a color that matches the average tone of your tesserae. This makes the tesserae appear continuous, minimizing the look of the grout lines.

The consistency of your mix is crucial. Follow the manufacturer's ratio, but adjust as needed.
Start with the Powder: Pour the dry grout mixture into a disposable container.
Add Water Slowly: Add water gradually while stirring.
Achieve Peanut Butter Consistency: The ideal mix is like thick peanut butter or smooth oatmeal—it should hold a peak without being runny, but still be pliable.
The Slump Test: If you scoop some grout and turn your tool upside down, the grout should hold its shape for a few seconds before slowly falling off (the slump). If it runs off immediately, add more powder.
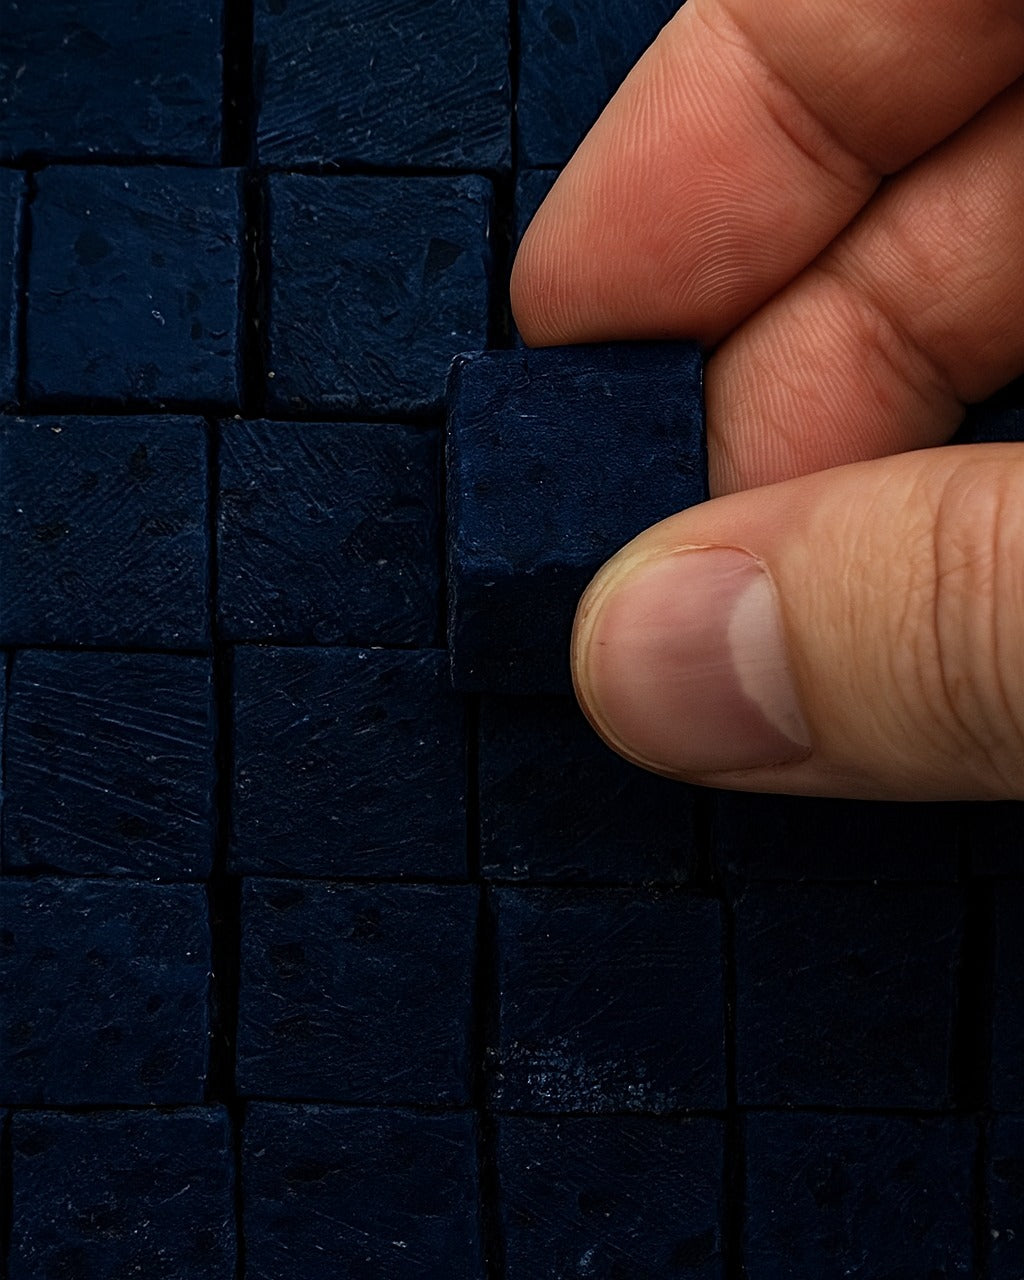
This is the messy but rewarding part.
Wait for the Adhesive to Cure: Ensure the adhesive holding your tesserae is completely dry (usually 24–48 hours) before grouting.
Press and Spread: Using a rubber grout float (or a stiff spatula for smaller pieces), scoop the grout and press it firmly into the gaps, holding the float at a 45-degree angle. Work in small sections.
Wipe and Shape (The Sponge Phase): After letting the grout cure for about 15–20 minutes (it should be firm enough not to wash out), use a damp (not soaking wet) sponge to gently wipe off the excess grout from the tile surfaces. This is called tooling the grout, as it shapes the line.
Final Polish (The Haze): Once the grout has dried overnight, a powdery residue (haze) will likely remain on the tesserae. Buff the piece thoroughly with a dry, clean, lint-free cloth (like a microfiber towel) to achieve a final, professional shine.
For any mosaic that will live outdoors, in a wet area, or on a tabletop (where it could be stained), apply a grout sealant 72 hours after grouting. This protects your hard work and maintains the vibrancy of your finished piece.
Find inspiration for your next project, see how artists are breaking the mold, and learn the latest techniques in the world of mosaic art.
In summary: To refresh your home for Spring 2026, focus on biophilic...

In a world of mass-produced decor, 2026 has ushered in a "Return...

Glass mosaic tiles sparkle differently in every room due to variations in...

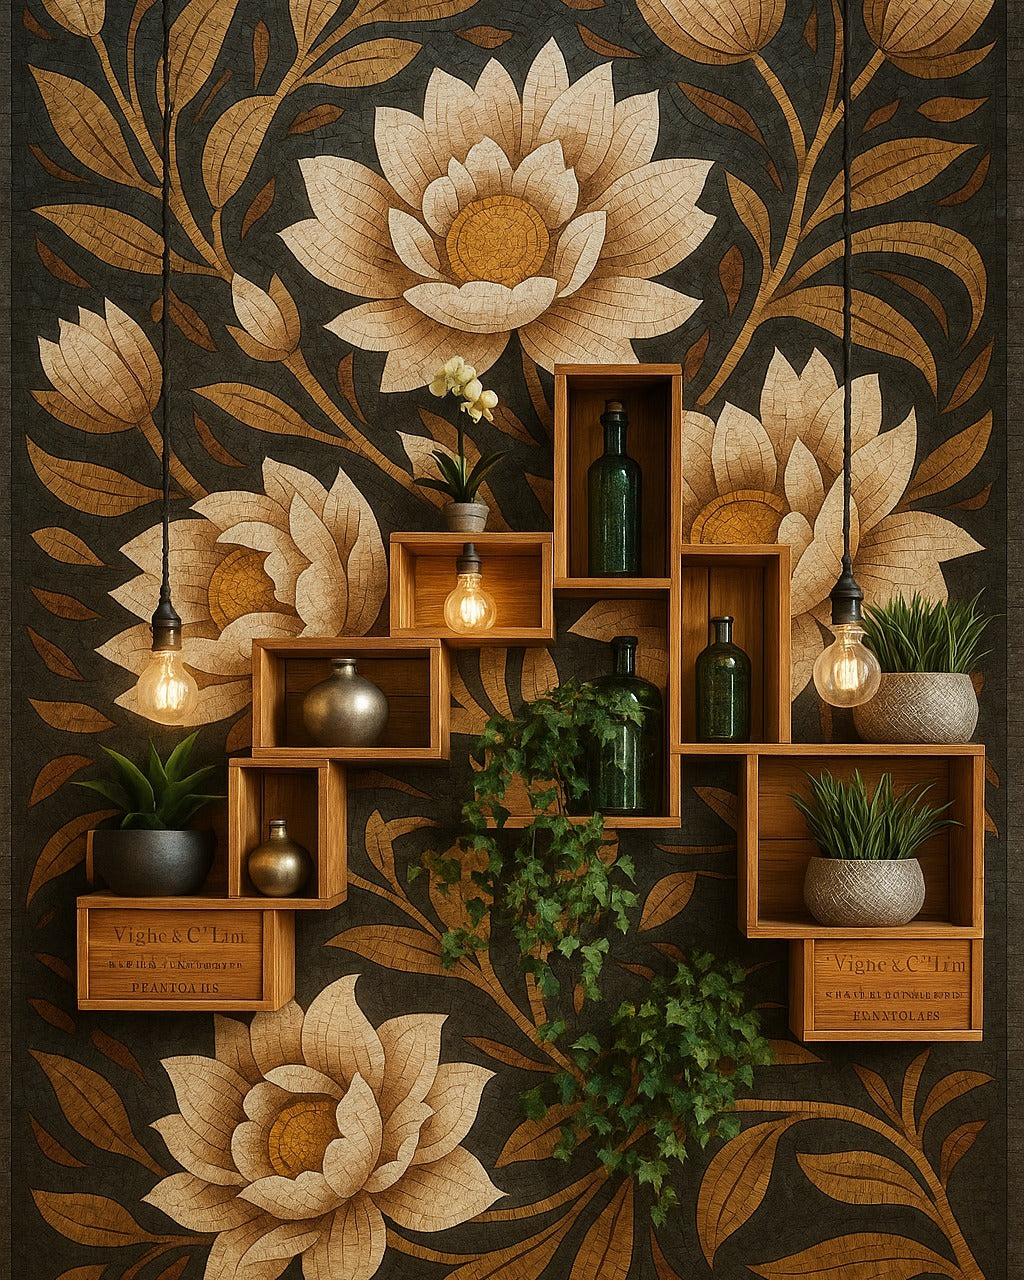
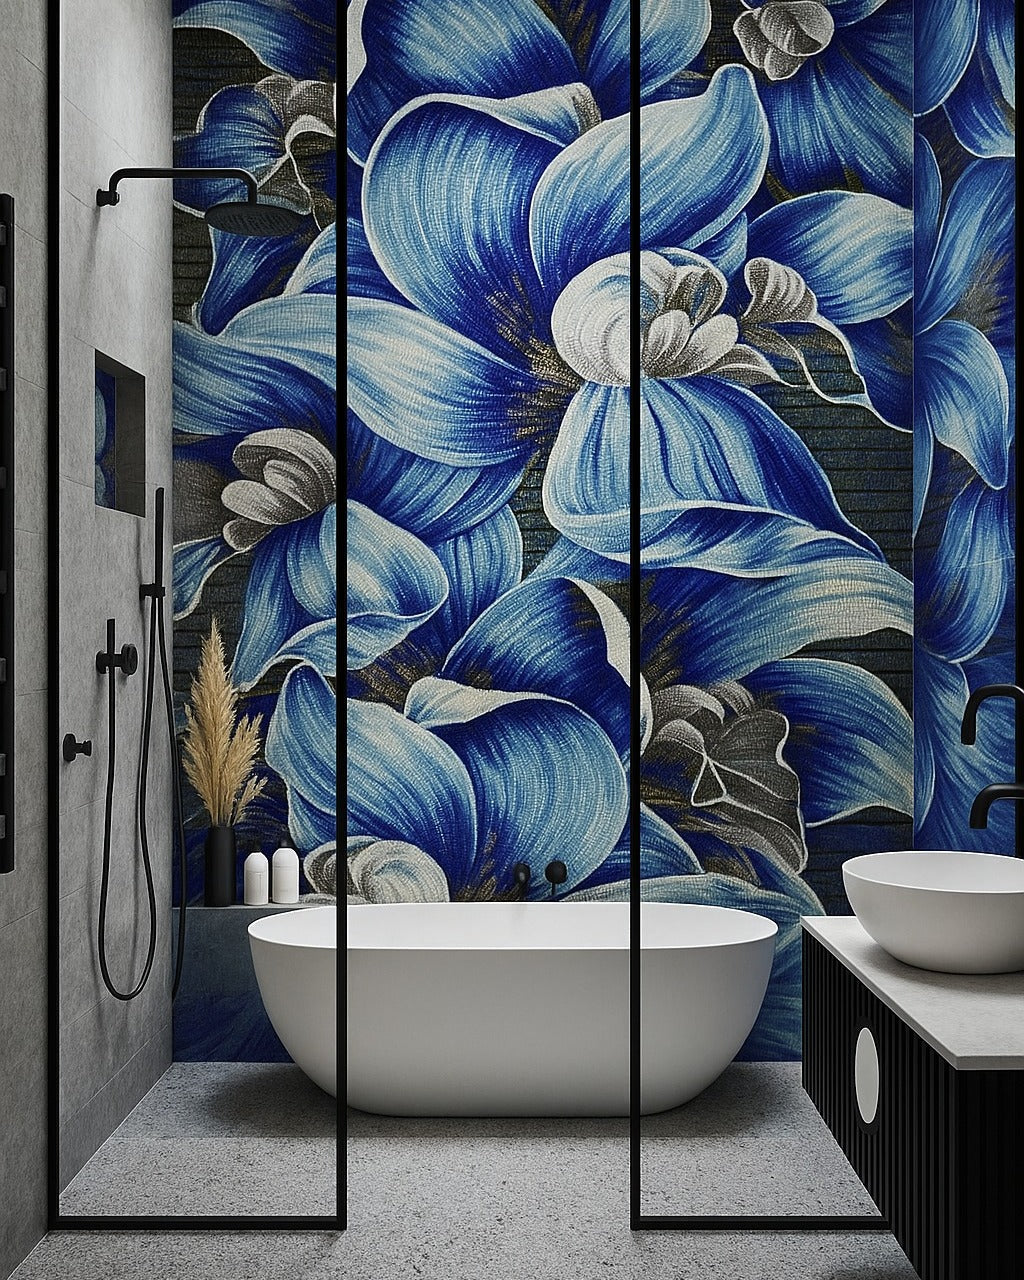
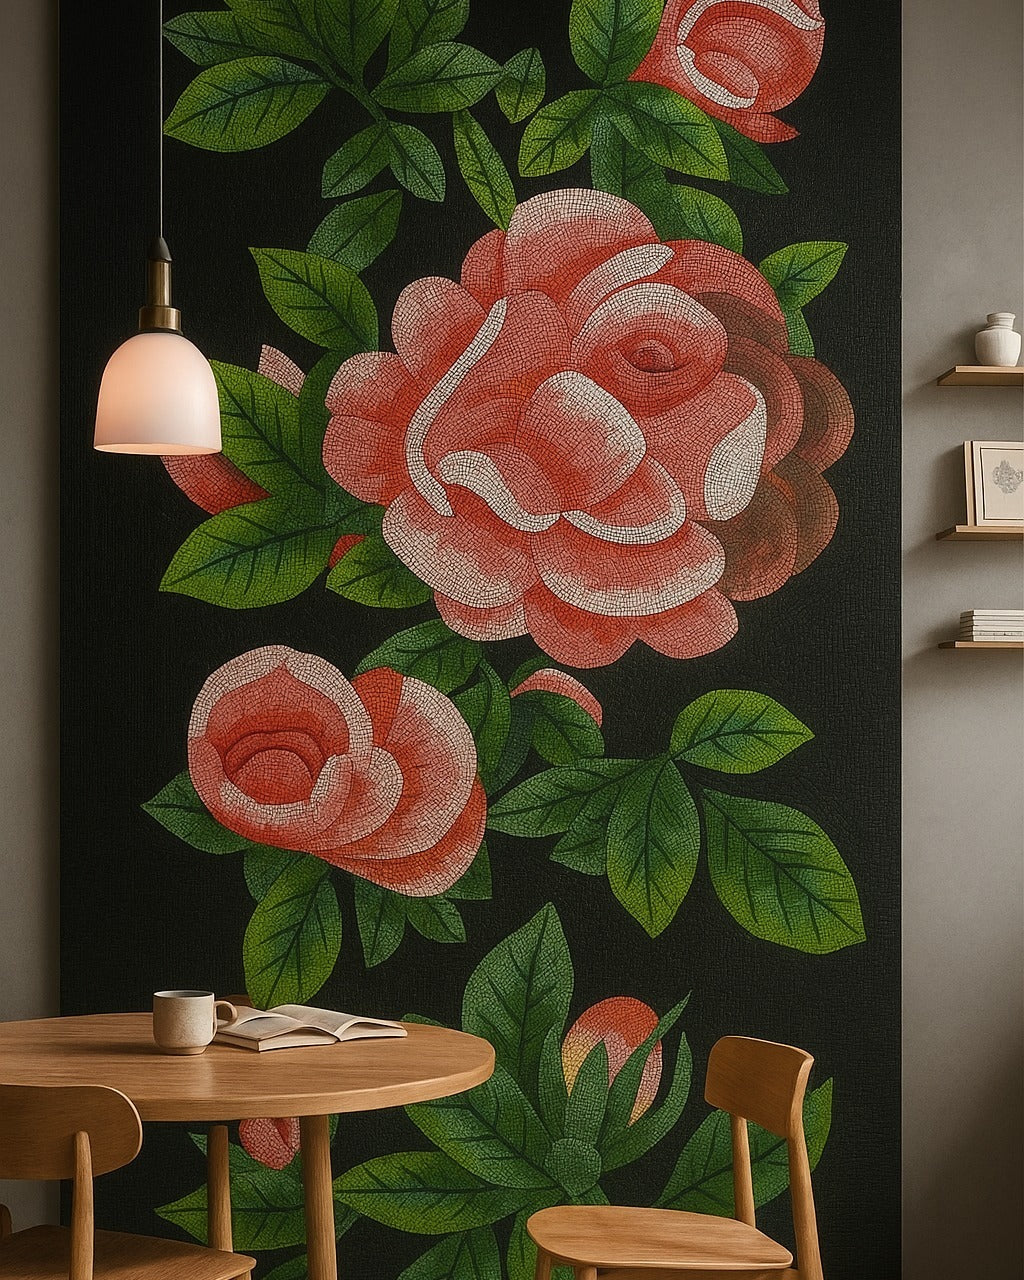
Mosaic trends for 2026 emphasize personalization, organic forms, earthy color palettes, textured...

The term tesserae (tessera, the Latin word for 'a small cube') refers...

Mosaic art doesn't have to be a grand, months-long endeavor. In fact,...

Grouting is the final, essential step in almost every mosaic project. It...

As autumn unfolds, nature itself becomes a living mosaic — a blend...

While the broader trends in mosaic art point to a revival of...

The world of interior design and art is witnessing a compelling shift,...

Memorial Day is a time to reflect, honor, and remember. At iMosaicArt,...

Mosaic art has always been a timeless medium, blending history with contemporary...

A Mother’s Day Gift That Lasts a Lifetime: Mosaic Artwork from iMosaicArt...

At iMosaicArt, every piece of custom mosaic art begins its journey in...


At iMosaicArt, we value our customers and want to show our appreciation...

Mosaic art has long been admired for its intricate beauty and enduring...

Valentine’s Day is the perfect occasion to express love, appreciation, and creativity....

In a world where environmental consciousness is no longer optional but essential,...

The most exciting shopping event of the year is here! From November...


Wishlist is empty.