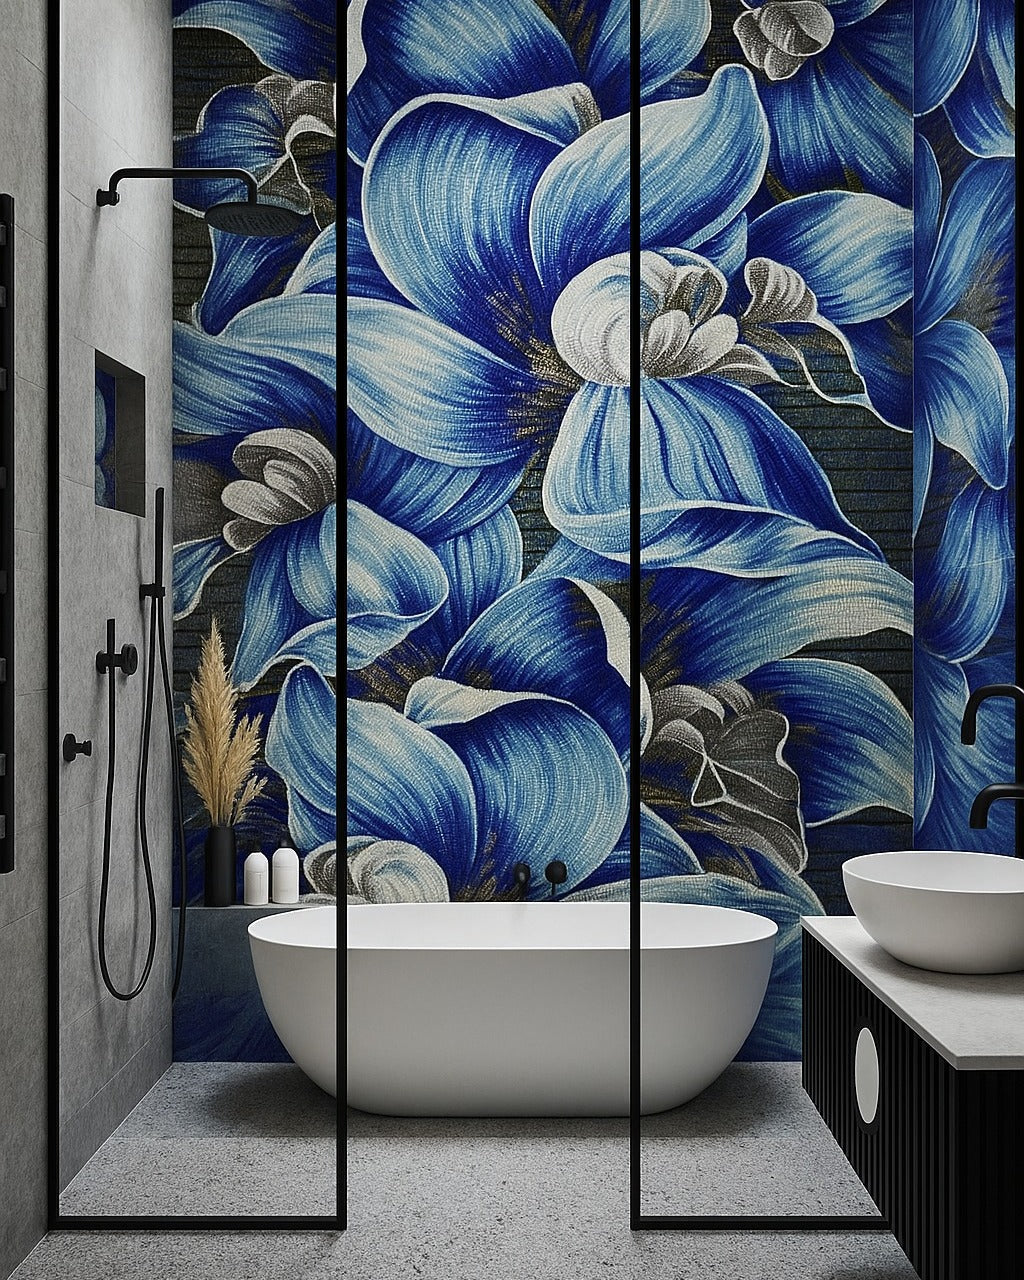
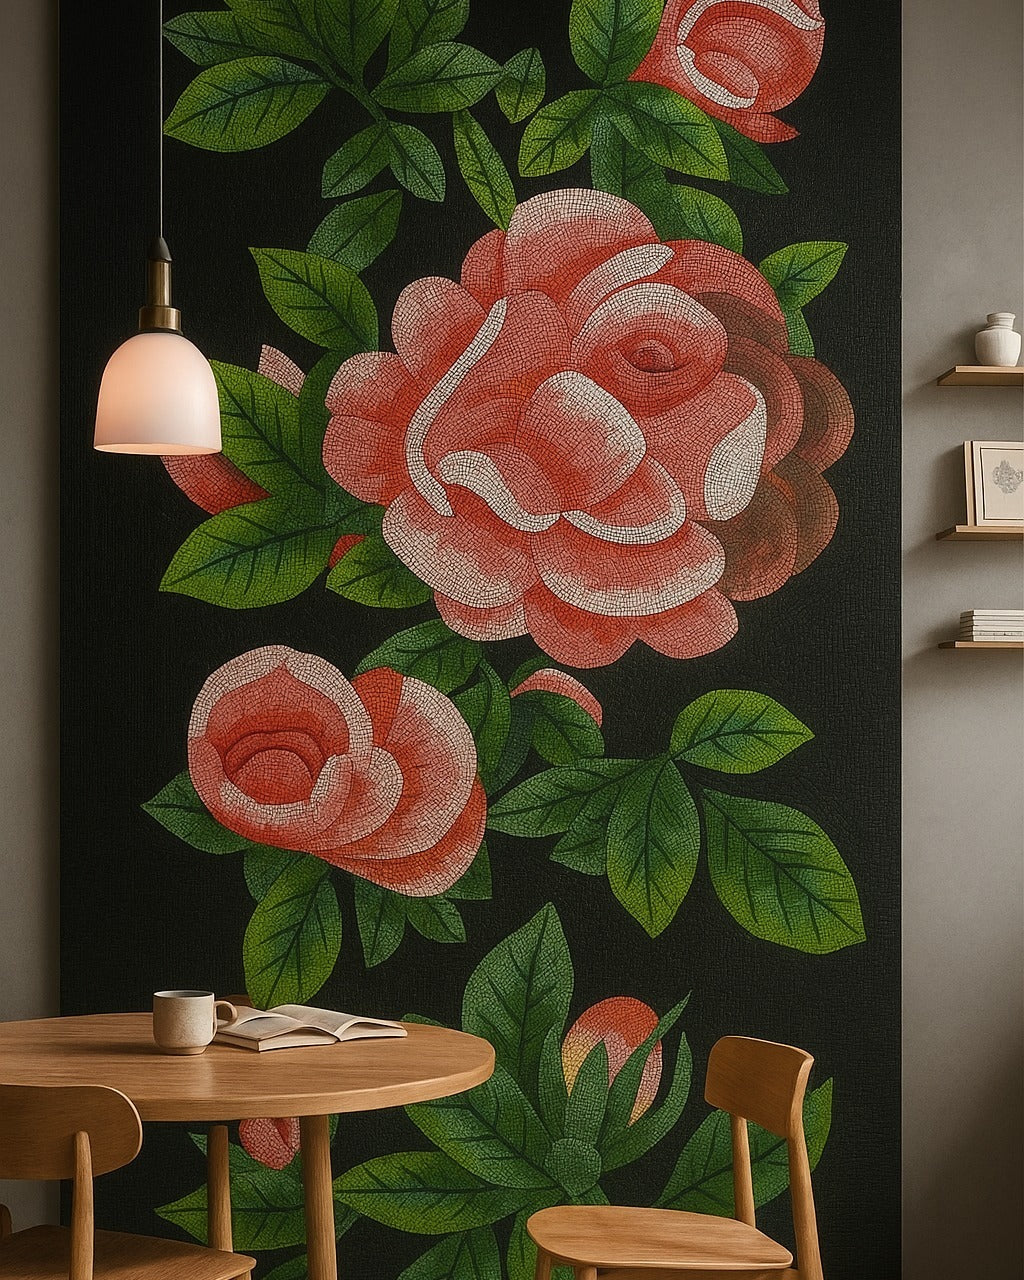
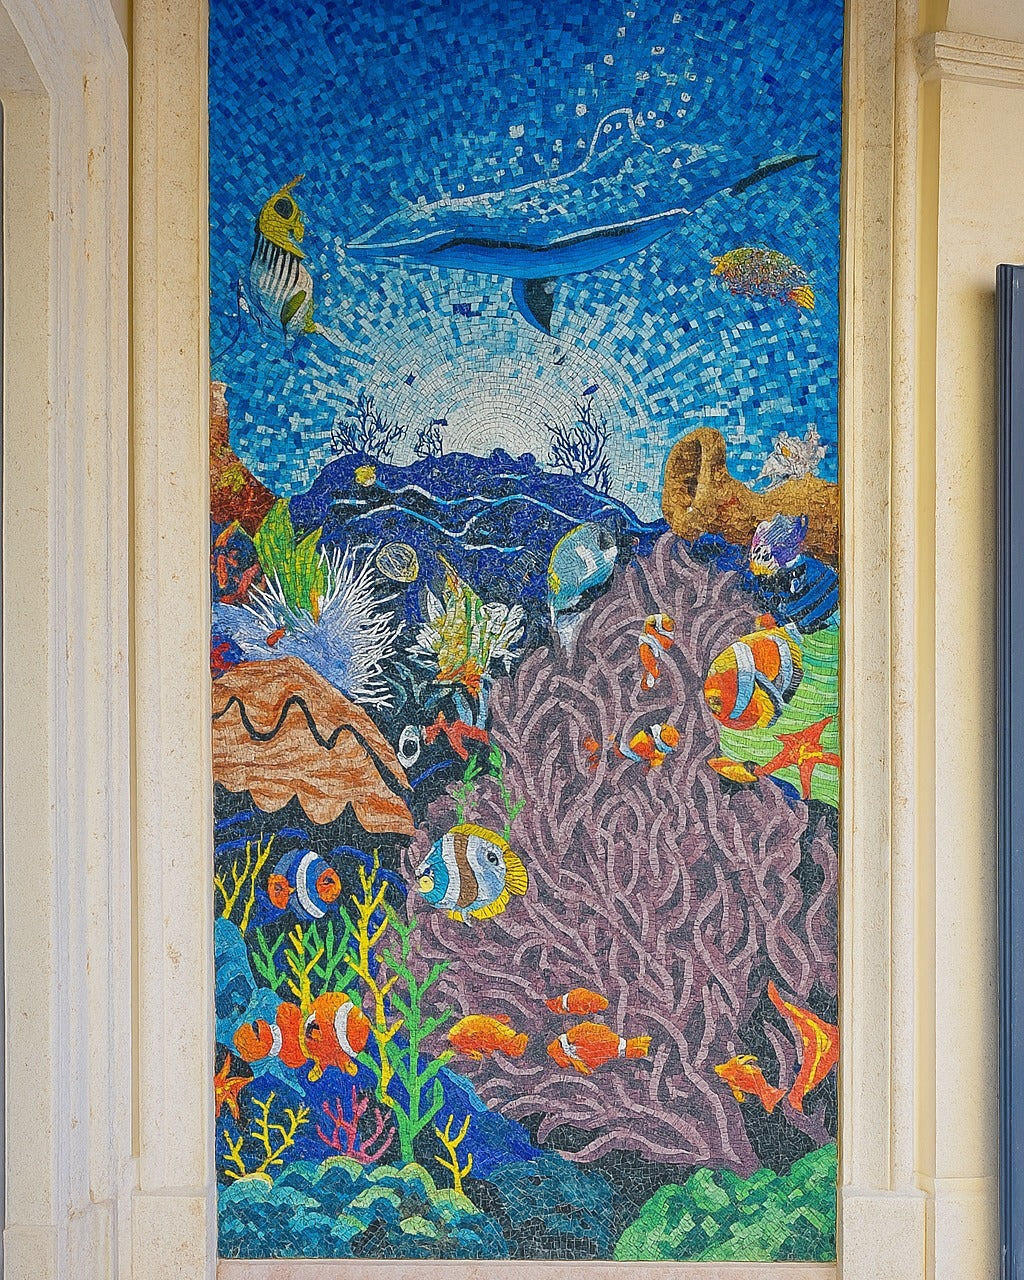
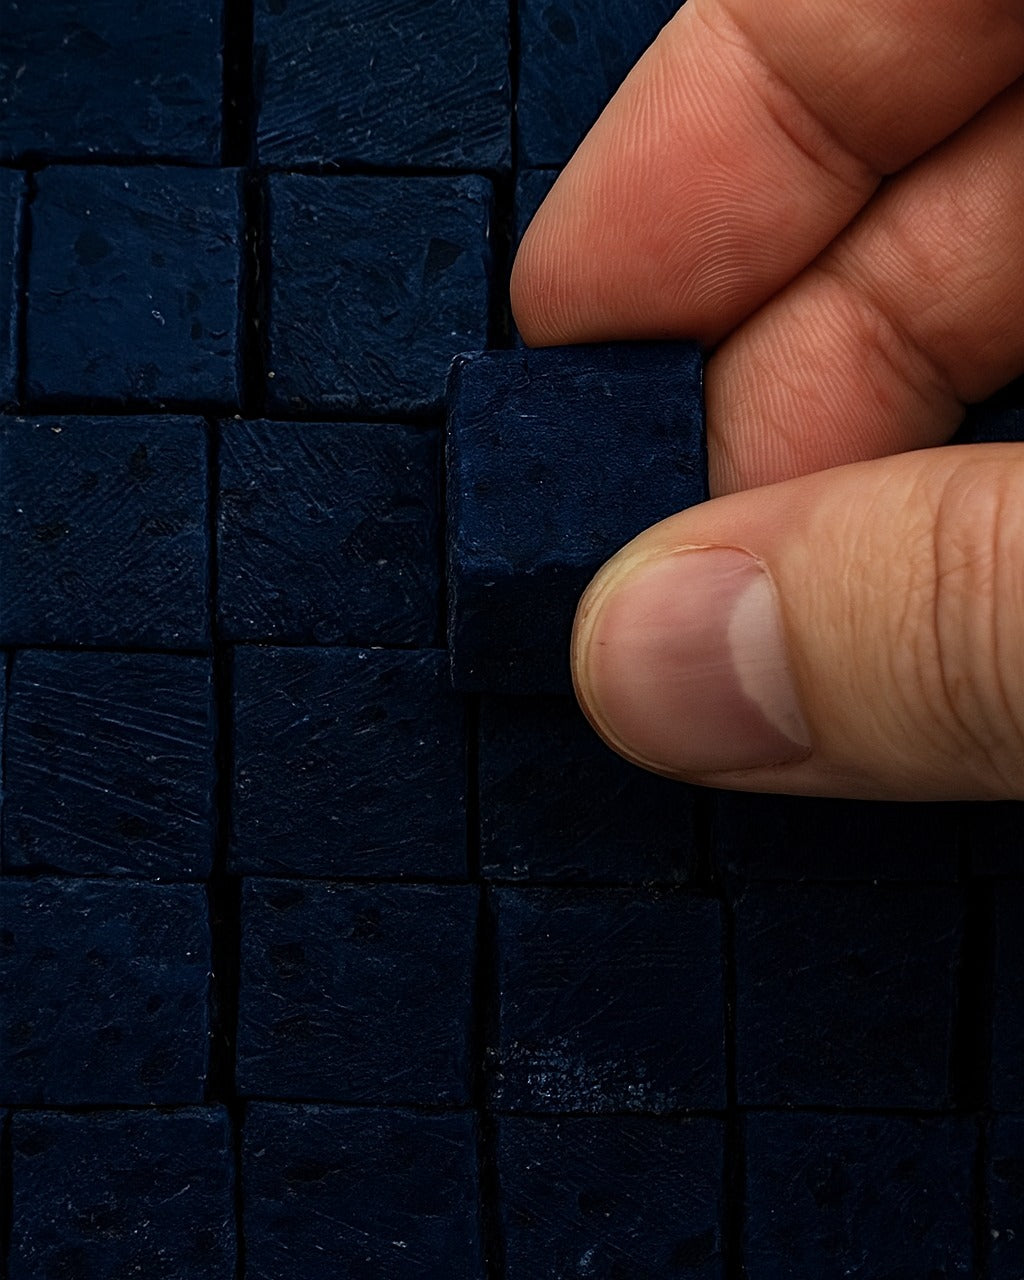
The term tesserae (tessera, the Latin word for 'a small cube') refers...
Have you ever been inspired by the beauty and intricacy of mosaic art? Perhaps you've seen one in a museum or art gallery and thought to yourself, 'I'd love to have one of those in my home!' The good news is that it's possible to create your own unique mosaic masterpiece with the help of iMosaicArt. In this article, we'll take you through the process of crafting a mosaic from start to finish, and show you how our talented artists can help bring your vision to life.

The first step in creating a mosaic is to select the right materials. This includes choosing the right type of tesserae, such as glass or stone, as well as the colors and finishes that will be used. For example, different types of tesserae can be used to create various effects, such as a glossy finish for a more modern look, or a matte finish for a more traditional appearance. It's also important to consider the size and shape of the tesserae, as well as the grout color. These choices will significantly impact the overall look and feel of the mosaic.
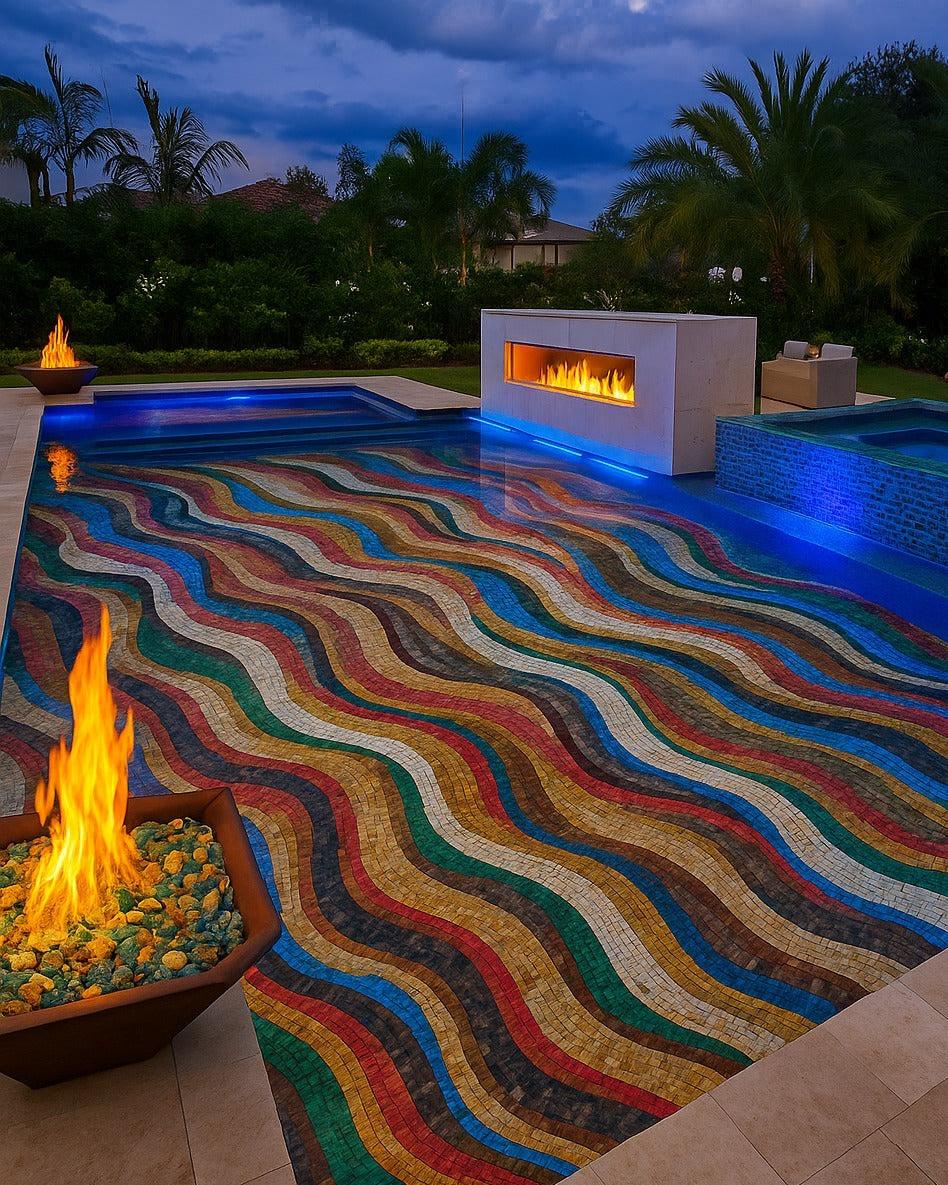
After selecting the materials and colors, it's time to determine the layout of the tesserae. The layout refers to the arrangement of the tesserae on the substrate, or the surface on which the mosaic will be mounted. The layout can be simple and geometric, such as a grid or a checkerboard pattern. It can also be used to create different effects, such as movement or texture.

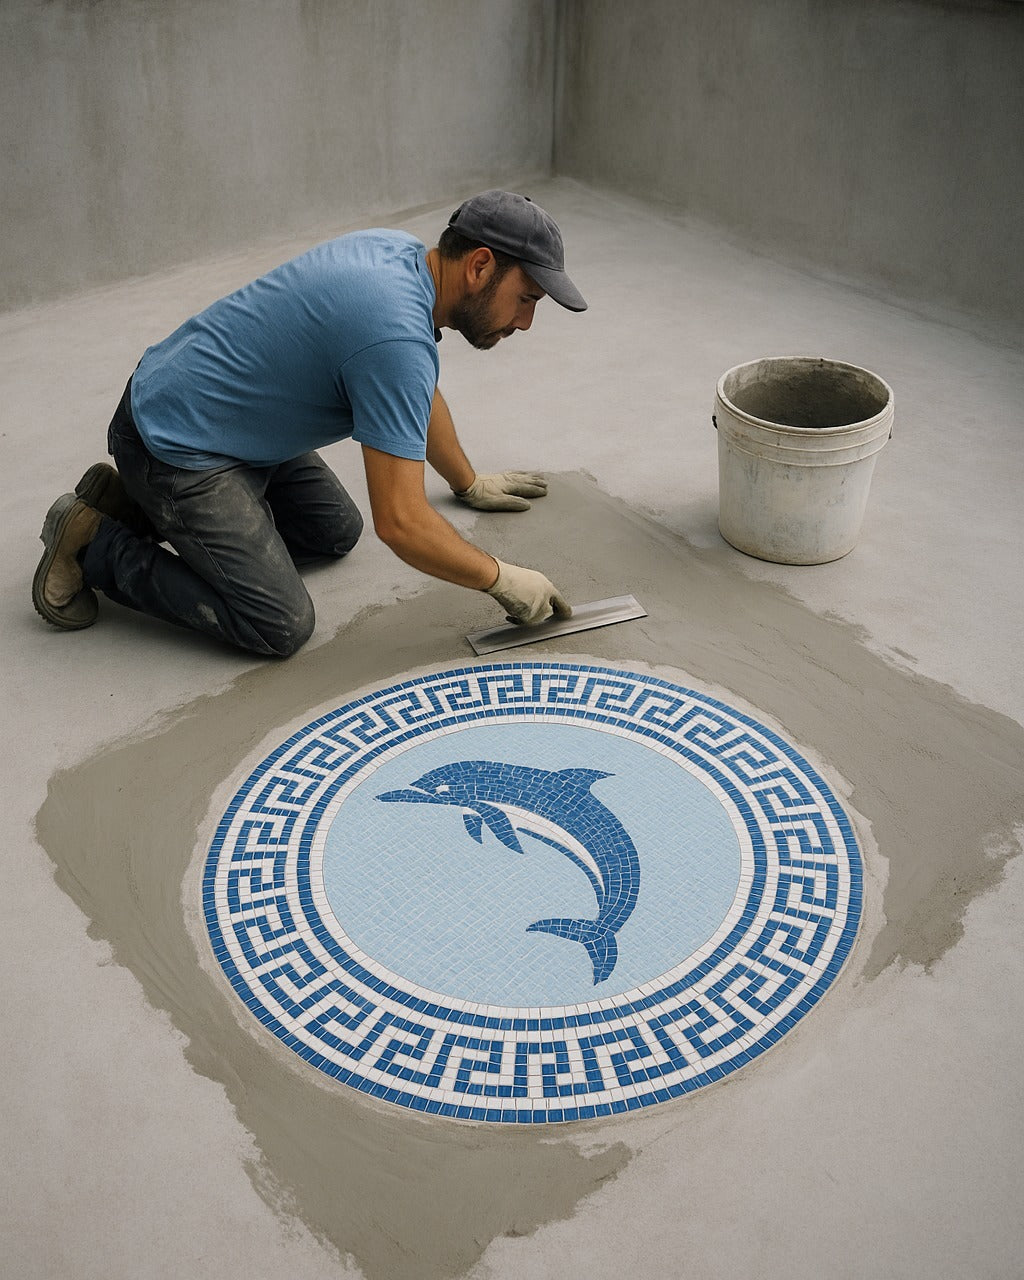
Once the materials and layout have been determined, it's time to start assembling the mosaic. This process is called 'setting' the tesserae, and it involves applying an adhesive to the back of each tessera and pressing it into place on the substrate. The adhesive can be a special mortar designed for mosaics, or it can be a less permanent option such as double-sided tape. Once the tesserae are set, the next step is to fill the spaces between them with grout.
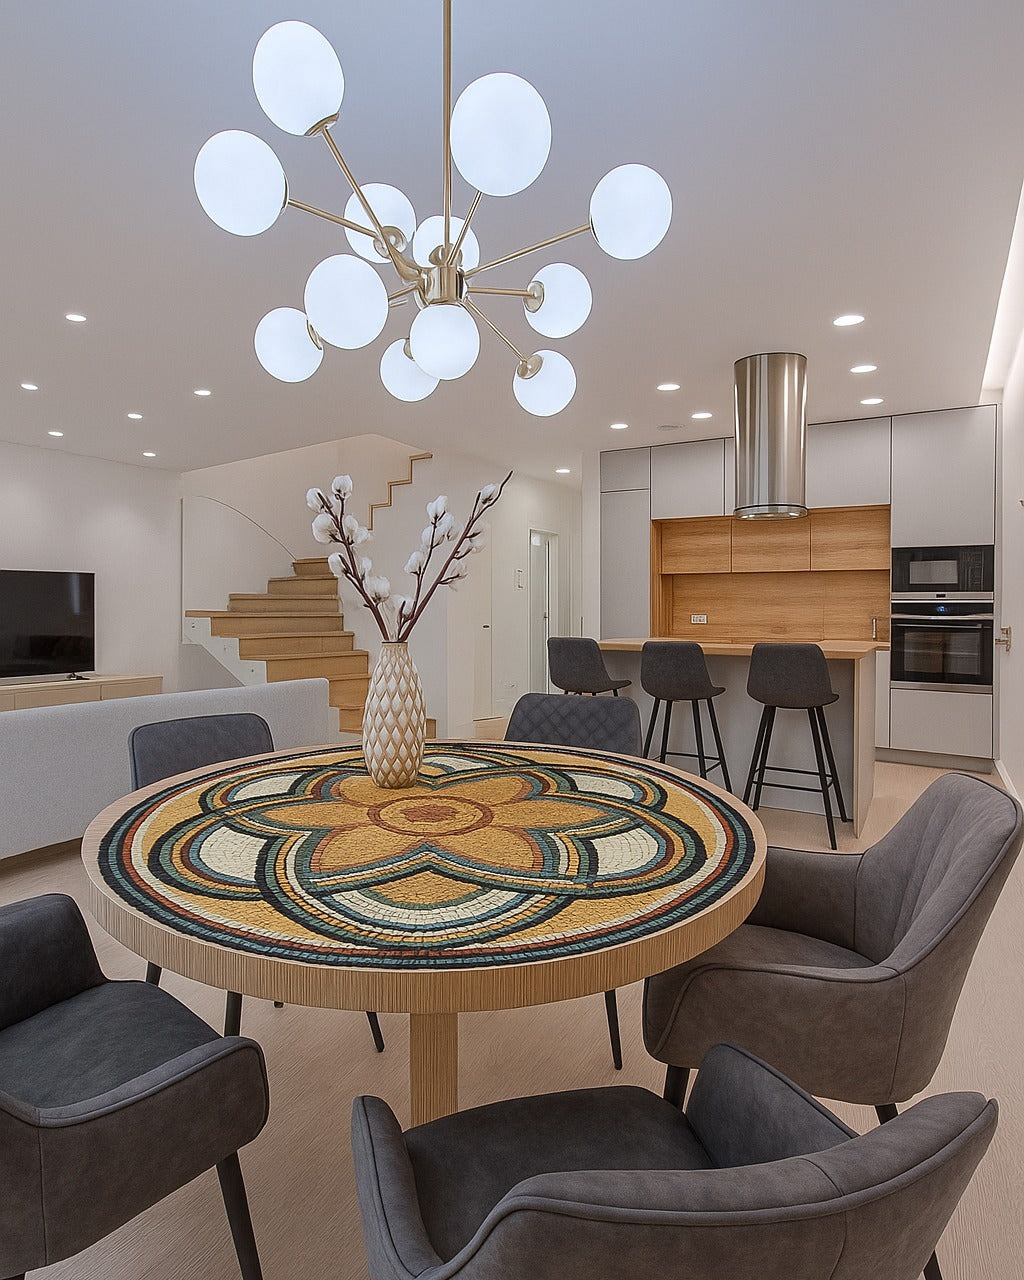
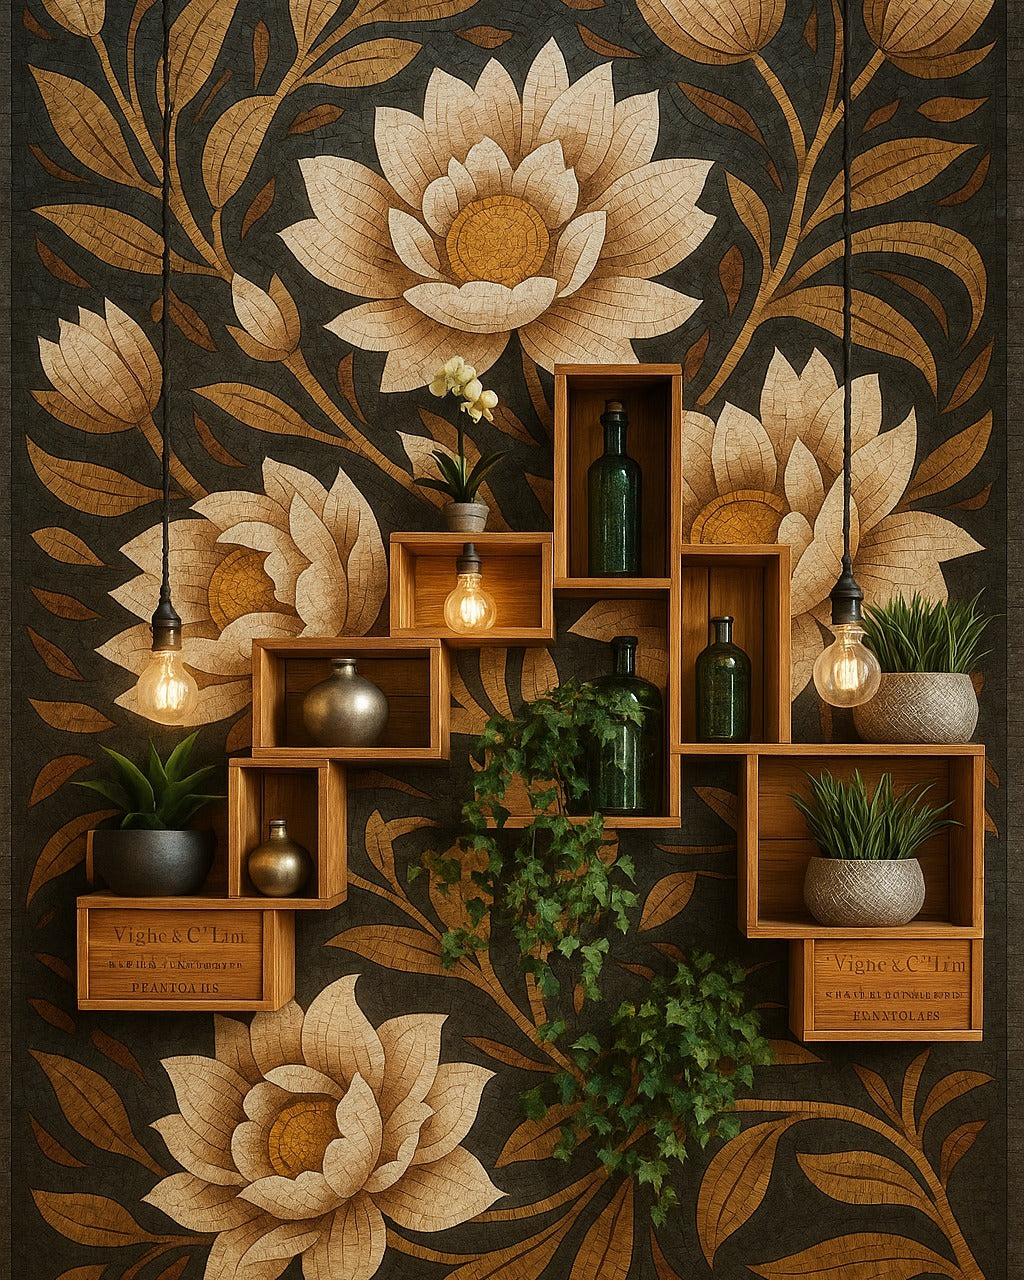
After the grout has dried, the final step is to clean the mosaic and apply a sealer. The sealer will protect the mosaic from moisture and dirt, and it will also enhance the colors and finishes of the tesserae. The sealer should be applied according to the manufacturer's instructions, and it may need to be reapplied periodically. Finally, the mosaic can be mounted to its intended location, such as a wall, floor, ceiling, or tabletop.

Creating a mosaic is a rewarding and creative process. With the right materials and techniques, you can craft a beautiful and unique piece of art that will last for years to come. The combination of colors, textures, and patterns in a mosaic can evoke emotions, memories, and a sense of wonder. And the best part is that you can create a mosaic that is truly your own, expressing your individuality and personality. So get out there and start crafting!


